Your cart is currently empty!
Tips For Indoor Portrait Photography
Alfred Stieglitz once said ‘In photography, there is a reality so subtle that it becomes more real than reality.’
I completely agree with this because if you capture the photos right, it illuminates the reality in such a way that it seems like a fantasy, even though we know it is one girl doing nothing, sitting in her room, under the perfect light!
But capturing this essence can be more difficult than it looks! And that’s the challenge we face as photographers, especially when taking photos indoors.
Tips for Indoor Portrait Photography
The main reason indoor photography is challenging is the lack of light. And as everyone knows, light is a critical element in producing stunning photos. The majority of today’s cameras – whether DSLR, mirrorless, or smartphone cameras – work best with plenty of available light.
When there is less light available indoors, the camera has to make many trade-offs to get the image right. The triad of in camera light control are speed, aperture, and ISO. If the light is too low, you can reduce shutter speed (which increases blur), open up your aperture (which creates a shallow DOF), or increase the ISO (which adds noise). Alternatively, you can use studio lights, or flash. But that’s a topic for another day. Once you have found the settings that work best for your lighting situation, you can work on angles and poses.
Here are some more tips to get the most out of your indoor situation:
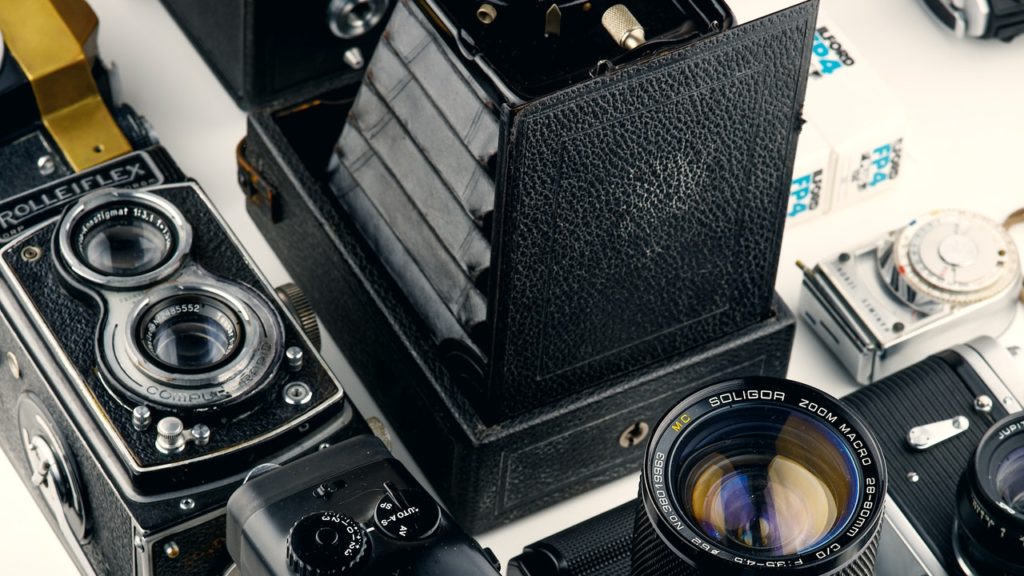
1: The Right Gear
Camera: If you are serious about your photography, you should choose a camera that allows you to choose your own settings (Manual mode) in addition to Shutter and Aperture priorities. This gives you a lot more flexibility when encountering different and difficult lighting situations.
Lens: If you’re shooting indoors without strobes, or in low light, you’ll want a “fast” lens. And you will need to learn how to use the depth of field (DOF), so you can isolate your subject by compressing/blurring the background with a shallow DOF, or using a deeper depth of field to include the background – useful for environmental portraits.
Lenses are arguably the most important piece of equipment you can buy; a “cheap” lens will be “slow” (requiring more light to get a good image), and afflict your images with chromatic aberration, unwanted light flares, and distortion.
2: The Right Settings
If you are not going to use strobes or flashes, there are three camera basics at our disposal to determine how much light reaches our sensor: shutter speed, aperture, and ISO. A fast shutter speed will “freeze” movement; a slow shutter speed will blur any motion, either from the camera or the subject. Aperture determines your depth of field. ISO sets the light sensitivity of the sensor. It’s important to learn the relationship of this triad to the quality of your images, especially in an indoor setting, where enough light is often an issue.
If you are doing a static portrait (subject isn’t moving), shutter speed can be slow. But you might get camera shake which would create indesirable blur. So, you might need a tripod to get a clear image. You could increase the light reaching your sensor by using a very wide aperture (under f5). This would isolate your subject by blurring the background, but you wouldn’t be able to include any background details from a cool location. You could increase your shutter speed, and increase the background by closing down the aperture, if you increase the ISO. However, increasing the ISO also increases noise. It is all a trade-off you must learn to balance.
3: Preparing your Set or Location
Capturing a good pose, or having good lighting is only part of the process of creating a good portrait. Great portraits consider not only the person and the lighting, but also the state of the immediate surroundings. Nothing can ruin a perfectly good image like a distracting object. Unless the photo concept is to show clutter, your session preparation should include clearing up the area.
This can be moving furniture, picking up garbage, covering wall imperfections, hiding dangling cords, rearranging the table, and removing any excess debris that may create the impression of chaos or mess.
Other things to consider when looking through the viewfinder are background objects, shiny/reflective spots, and shadows. Is there a lamp coming out of the back of their head? Is there a mirror reflecting bright light? Does a shadow cut off the top of their head?
If you’re shooting in someone’s house, make sure you obtain their permission before altering their furniture. And if you do move things around, be prepared to return the space to how you found it.
4: Natural Light
Shooting with natural light is both the easiest and hardest type of photography. The limited amount of gear makes getting to and from the shoot really easy, and nothing but your camera to handle during the shoot.
But it also requires a command and knowledge of how to use available light, also called natural light. A window can provide both direct light (sun shining directly on subject), or indirect light (cloudy day, sun on opposite side of the building).
Direct light is harsh, and provides high contrast illumination. Indirect light is softer, low contrast. Direct light through a window can be modified by a curtain, or by placing a sheet or other translucent material on the outside. You can also “fill” in some of the shadows and lighten the contrast by using a reflector. This can be made with any reflective material like foam core, a white sheet, etc.
Windows are an excellent place to put your subject not only because of the light source, but because they can be an interesting photographic element. Windows provide you a lot of options for posing (facing the camera, looking out the window, looking away from the window), and content (featuring the window with curtains, showing the exterior, not showing the window at all). You will need to play with distance or proximity of the subject to the window, and camera distance or proximity to the subject, and be aware of overexposure of areas touched by the light.
5: Using Existing Artificial Lights
I don’t like “absolutes” in photography. Meaning if you want to use natural light, you HAVE to eliminate all artificial light, and vice versa. But I don’t think anything in photography is absolute. We could try to eliminate all artificial lighting sources, such as tungsten or fluorescent light fixtures, floor and desk lamps, etc. They can not only be distracting, they can also create a color cast on your image. Fortunately, in the age of digital photography, this once-undesirable effect can easily be fixed in post-processing.
But on the other hand, those very same light sources can also be used creatively in your image. Lamps can be used off-camera as “filler” on the dark side of an image, or become a creative element IN the image. Overhead lights can be used to create moods, or also serve as “fill”. Your lighting options are limited only by your imagination.
6: Use A Reflector
Reflectors are a photographer’s best friend. Place it on the dark side of the subject to augment the light from a large window. It’s just enough light to separate the subject from a dark background, outlining the jaw or top of the head, and bringing in subtle shapes into otherwise inky blacks.
If you want your subject further away from the window, the reflector can also be used to concentrate and direct the existing light. You can bounce the reflected light directly back at your subject or onto the background to create some separation.
Reflectors have many surfaces, each providing a different function: white, black, silver, and gold are the most popular. Play with each surface to see how differently they treat light, and how it looks on your subject. Be aware that the gold and silver surfaces are very bright and can hurt your model’s eyes.
7: Use A Tripod
Low lighting conditions usually means a slow shutter speed. Using a tripod reduces any camera shaking or blurring of your photographs.
A tripod can also free up your hands, if you are shooting alone. Using a remote shutter release, you can both fire the camera, AND handle a reflector, or any other creative addition. An added benefit of using a tripod is that you have identical framing in each shot, a big plus if you’ve spent time clearing up a small area to look good for the shot.
8: Explore your Location
If you are doing family photos, don’t shoot them all in the same place. Each person is different, so find a spot that you feel best conveys their personality. Ask each person where “their spot” is in the house.
Maybe Dad is the cook, and he’d look fantastic posing in the kitchen with utensils. Mom may be an avid reader who would look wonderful in her reading chair. Explore the house with the family and use your eye and intuition to find the best places for each.
Or if you’re shooting with a model on a location, look around before settling on any one spot. Select more than one place in which to take photos, and be aware of natural light sources in each spot.
9: Additional Lighting Options
What happens if you don’t want to leave things to chance? You don’t know what the lighting situation is where you’re going, and maybe it’s dark. VERY dark. Or it’s an overcast day. Even if you want to specialize in natural light, it’s important to be prepared for anything. Many photographers use their on-camera flash, or bring their own lighting with them. A discussion on lighting for photography is its own separate article – it’s very broad and complex! But basic lighting equipment includes on-camera flash, speedlights, and strobes.
On-camera flash is one of the least desirable sources of light a photographer can use. It’s harsh. It’s flat. It washes everything out. However, it CAN be modified by simply using a white sheet of paper in front of it to soften the glare, or a white cardboard to “direct” it or “bounce” it off a wall or ceiling.
Another easy lighting source are speedlights, also called “flash”. These can be used on-camera by fitting them in the hot-shoe, or off-camera on a light stand. And there are a million ways to use them creatively.
Finally, we have strobes, or studio lights, which are professional lights, which offer the utmost flexibility in lighting effects. The down side is that they are bulky, as they require stands and modifiers, and are often quite expensive.
Lights! Camera! Action!
As with everything regarding photography, there is a lot more to discuss! But if you follow these basic guidelines, you will definitely increase the quality of your indoor portrait photos. The best part? These tips will work on all models and in every setting. So, get out there and practice.
And let us know if you have any questions or suggestions in the comment section.